
Hey all, just got done installing my Frame Sliders for the first time and I had a little difficulty so I just snapped some pictures while I was doing it to help people who had problems or are scared to do it themselves. Task is pretty easy all you need is a couple of tools:
- Hex Key/Allen Key (To Take off the fairing)
- Socket Wrench/Torque Wrench (To take off the engine bolt and install Frame Sliders)
First, I ordered the Intuitive No-Cut Frame Sliders because T-Rex was on back order and I had many close calls.
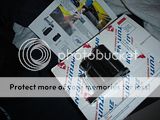
No Cut Frame Sliders should come with:
1 M10 x 50 bolt
2 M10 x 40 bolts
3 M10 flat washer
1 M10 x 70 bolt
1 bevel slider for Left Hand Side
1 notched slider for the Right Hand side
Make sure the engine is cool when you start this process, otherwise you'd burn your hands on it or the hot engine bolt when trying to remove it!
Step 1:
Take off this lower cowling at the bottom of the front of the bike
It's held on by 4 screws that need a hex key to take off. After you have the screws off, take off the plastic piece.
Step 2: (You can start working on either side of the bike, I'll just post this side first and later on I'll post the other side. Also refer to the Owner's Manual if you are unsure about how to take off the fairing)
Start taking off the screws of the fairing on the left hand side, make sure you work on one side at a time so you don't mess up the screws or lose parts.

There are 3 screws on top, another on the right which is bigger than the ones on top and the two screws on the bottom.
>>Important!! Make sure you have something close to the bike or underneath it so you can rest the fairing on it! Otherwise you'd scratch the fairing with the pavement. In my case, I used my motorcycle cover.
Now when I took it off, it looked like this:
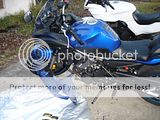
The fairing was still hooked on by the turn signal wire and the screw at the bottom of the fairing, be careful not to slam it hard or it'll break off.
Step 3
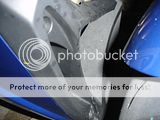
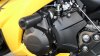
Taking off the engine bolts, installing the frame slider
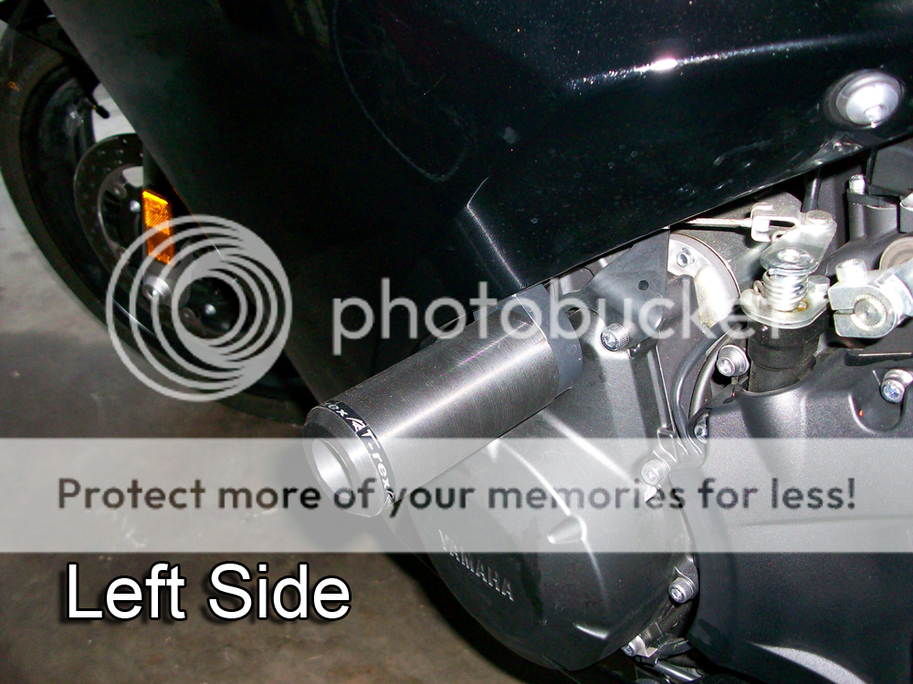
There are two engine bolts you need to take off on the left side of the bike to install the metal plating for the frame slider to rest on since it's a No-Cut.
When you take them off and install the metal piece that came with the Frame Slider kit make sure you see the little cut, it looks like a slant cut, it should look like this on the left side:
Now I put some extra washers between the metal piece and when it makes contact with the bike. That's just because I felt like it, I don't think you really have to.
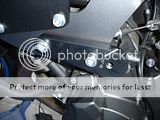
Now install the left side of the frame slider
Screw in the bolt with your hands then use the socket wrench then torque it to manufacturer specs. Afterwards Put the fairing back on and you're done with the left side!
Step 4
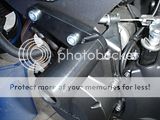
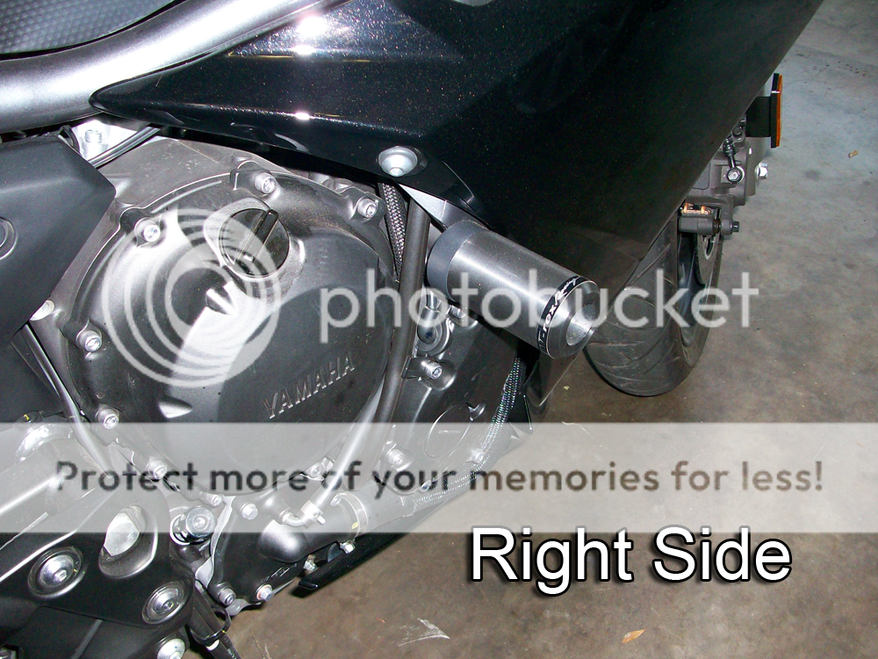
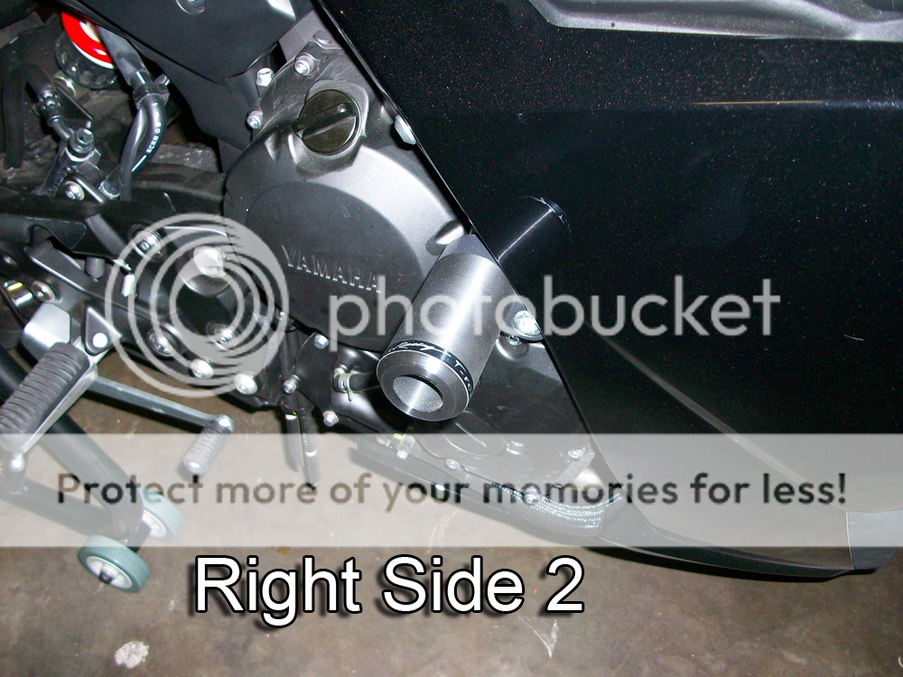
Right side of the bike (easier)
All you need to do for the right side of the bike is unscrew the engine bolt and screw in the frame slider.

I just took off that one screw holding the fairing in place, lifted it a little to fit the frame slider in and screwed it in.
After that screw everything back on!
There you have it! Something to save your motorcycle when it goes down from all the ladies tugging at your jacket trying to touch you!
- Hex Key/Allen Key (To Take off the fairing)
- Socket Wrench/Torque Wrench (To take off the engine bolt and install Frame Sliders)
First, I ordered the Intuitive No-Cut Frame Sliders because T-Rex was on back order and I had many close calls.

No Cut Frame Sliders should come with:
1 M10 x 50 bolt
2 M10 x 40 bolts
3 M10 flat washer
1 M10 x 70 bolt
1 bevel slider for Left Hand Side
1 notched slider for the Right Hand side
Make sure the engine is cool when you start this process, otherwise you'd burn your hands on it or the hot engine bolt when trying to remove it!
Step 1:
Take off this lower cowling at the bottom of the front of the bike

It's held on by 4 screws that need a hex key to take off. After you have the screws off, take off the plastic piece.
Step 2: (You can start working on either side of the bike, I'll just post this side first and later on I'll post the other side. Also refer to the Owner's Manual if you are unsure about how to take off the fairing)
Start taking off the screws of the fairing on the left hand side, make sure you work on one side at a time so you don't mess up the screws or lose parts.

There are 3 screws on top, another on the right which is bigger than the ones on top and the two screws on the bottom.
>>Important!! Make sure you have something close to the bike or underneath it so you can rest the fairing on it! Otherwise you'd scratch the fairing with the pavement. In my case, I used my motorcycle cover.
Now when I took it off, it looked like this:

The fairing was still hooked on by the turn signal wire and the screw at the bottom of the fairing, be careful not to slam it hard or it'll break off.
Step 3
Taking off the engine bolts, installing the frame slider
There are two engine bolts you need to take off on the left side of the bike to install the metal plating for the frame slider to rest on since it's a No-Cut.
When you take them off and install the metal piece that came with the Frame Slider kit make sure you see the little cut, it looks like a slant cut, it should look like this on the left side:

Now I put some extra washers between the metal piece and when it makes contact with the bike. That's just because I felt like it, I don't think you really have to.
Now install the left side of the frame slider

Screw in the bolt with your hands then use the socket wrench then torque it to manufacturer specs. Afterwards Put the fairing back on and you're done with the left side!
Step 4
Right side of the bike (easier)
All you need to do for the right side of the bike is unscrew the engine bolt and screw in the frame slider.

I just took off that one screw holding the fairing in place, lifted it a little to fit the frame slider in and screwed it in.
After that screw everything back on!
There you have it! Something to save your motorcycle when it goes down from all the ladies tugging at your jacket trying to touch you!

") I have the same type of sliders- since that's what the Yamaha dealer put on. They are slightly more expensive I guess, but they work well. I'm going to replace my left one, because I had a minor mishap recently too...
I have the same type of sliders- since that's what the Yamaha dealer put on. They are slightly more expensive I guess, but they work well. I'm going to replace my left one, because I had a minor mishap recently too...