Picked up my rear carrier today


kma_jg

New Member
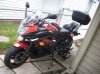
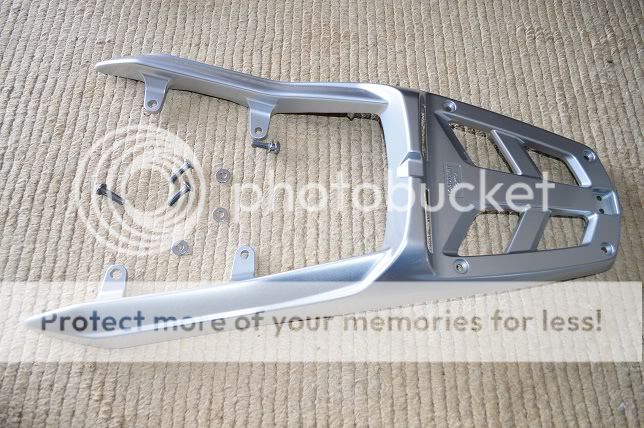
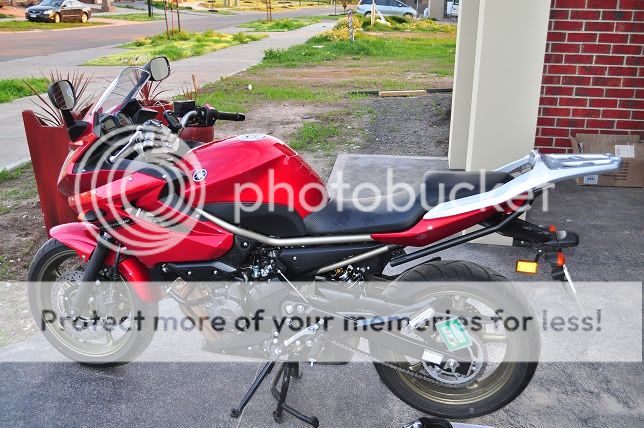
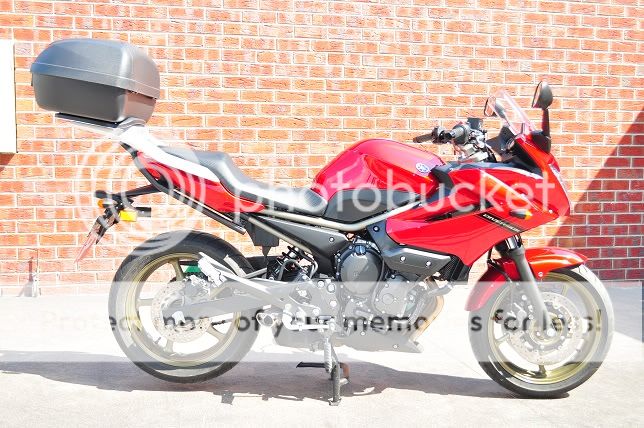
I ordered a Yamaha rear carrier about four weeks ago and it finally arrived today.
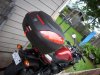
When I got at the dealer, they gave me this huge box and I was there with the bike. Had to take everything out and strapped to onto the backseat and off I went. Stopped a once or twice tocheck if it was still in place.

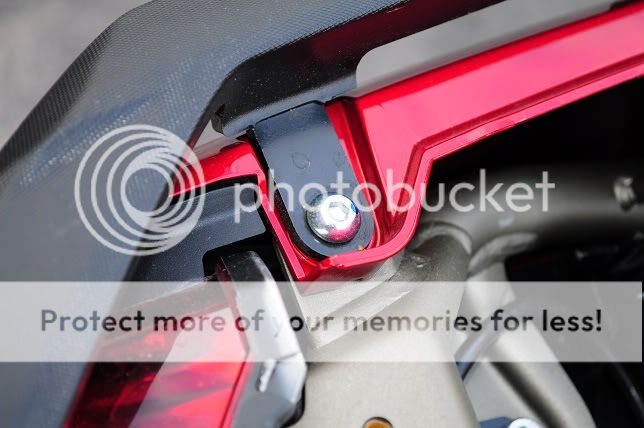
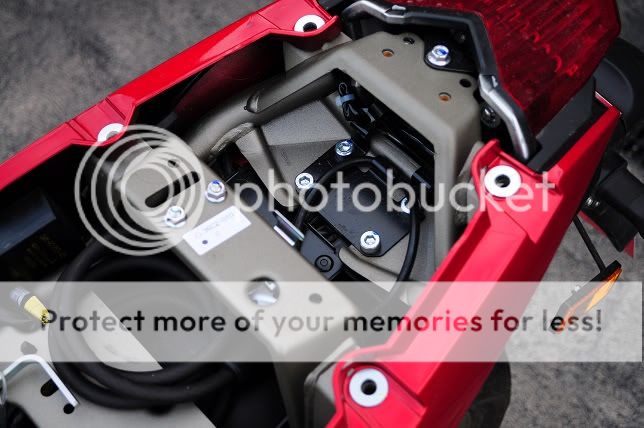
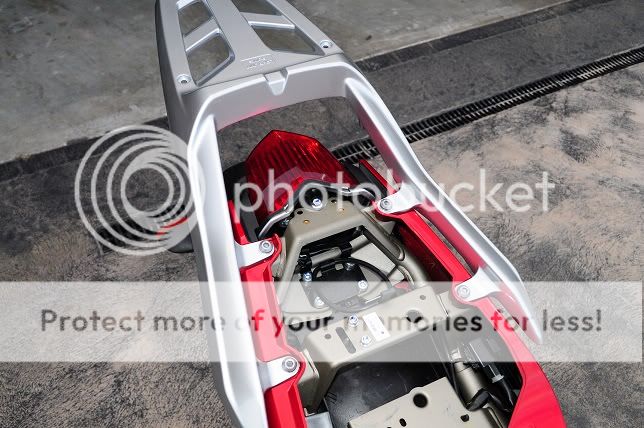
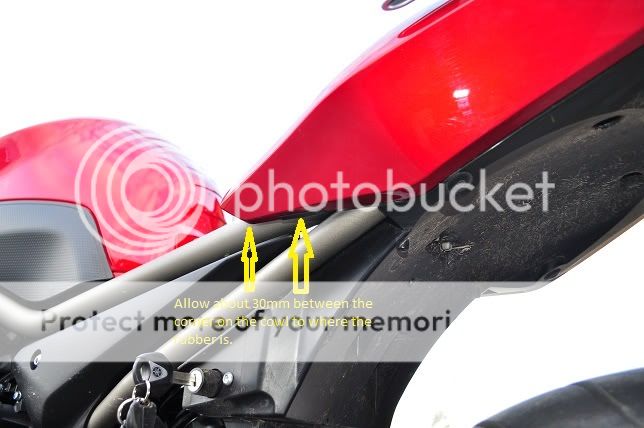
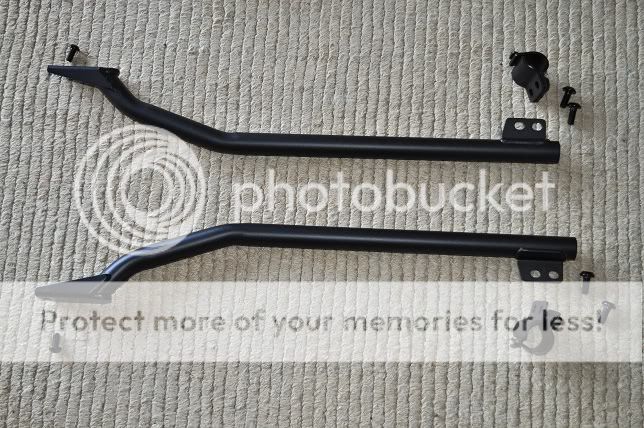
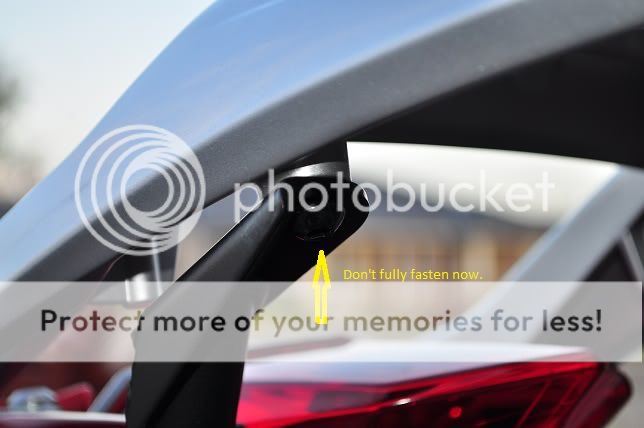
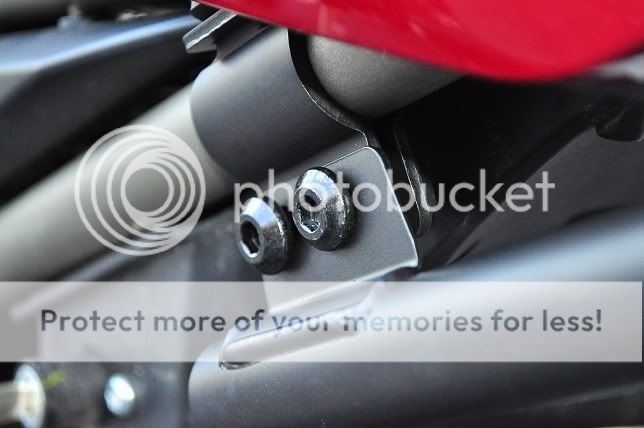
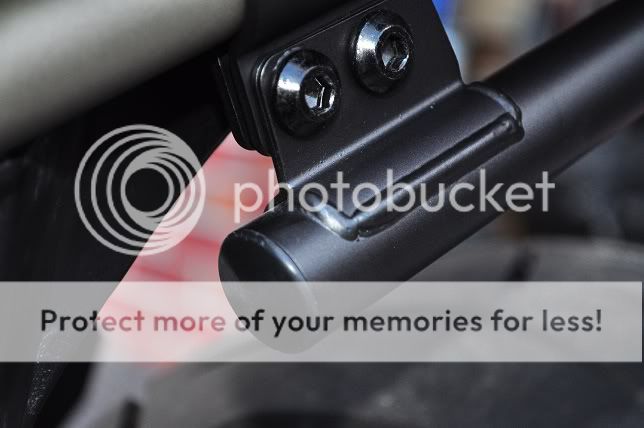
The installation took about an hour and it was very easy. I took some pics and will do a write up tomorrow.
 

kma_jg

New Member
Steps to install the Yamaha Rear carrier. If you have any other aftermarket varients, these steps may not work. It is based on the Yamaha XJ6 rear carrier.
You take full responsibilty for any damage caused if you choose to follow these steps.
It is not based on any Yamaha documentation and purely serve as an guide on how I fitted my rear carrier.


Step1: Remove the rear seat and unscrew the four bolts from the existing handle bar.


All four removed:


Step 2: Take the new carrier and the four silver bolts and washer and put them together.


Install the carrier with the four screws as shown below.
All four screws fastened:


Step 3: There are two black rubber protectors included that must be glued to the side cowls.
the glue is not included but any general plastic/rubber glue will work. Just make sure it doesn't do any damage to the plastic.

The positioning of the rubber must be about 30mm from the corner of the cowling.


When applying the glue, I bend the rubber backwords to get it open to put the glue on.


and from the bottom:


Step 4: Get the black supporting arms and the six screws together:


There are two brackest that consists of two pieces that hooks together around the frame.

Put the rear one in from the bottom first and hook the second in from the front. Do not tighten the screws yet.


Take the supporting arms and fasten the screw at the back halfway so that the arm is still loose enough to bring up into the bracket. See abpve too.


Slide the bracket into position where the holes on the arm-bracket will align with the holes in the brackets around the frame and fasten the two screws.


Once you have done this on both sides, the rear bolts can be tightened.


Step 5: Install the rubber pipe seals. There are two of them that will go into the ends of the arms.


...and that is it. No drilling, bending etc needed. It should look like this:


...and with a topbox added:


I hope this can help somebody at some stage.
 

Heineken

Senior Member
Elite Member

Roaddawg

New Member
Nice, easy write-up. You'd think with the main part of the rack, that it would be sturdy enough without the support braces. They kind of take away from the flow of the main rack.
 

kma_jg

New Member
Nice, easy write-up. You'd think with the main part of the rack, that it would be sturdy enough without the support braces. They kind of take away from the flow of the main rack.
...and there is nothing else silver on the bike too.
I don't know if the support arms maybe used for panniers ... The load limit on the aluminium is only 5kgs and that is not a lot if you have a big box, maybe that is the reason for the supports...
 
Last edited:

Detrich

New Member
nice write-up and thanks for sharing... :)

personall i prolly would've also ordered a can of oem red spray paint and painted the carrier to match. but, i'm a bit OCD... lol xP
 

arnac

New Member
Thanks

Installed mine today. The pictures were very helpful. As for the color of the rack-- there's enough chrome on my bike that it doesn't look out of place.
 

Attachments

Last edited:

Sander Koop

Member
Elite Member

BoneJj

Well-Known Member
nice write-up and thanks for sharing... :)

personall i prolly would've also ordered a can of oem red spray paint and painted the carrier to match. but, i'm a bit OCD... lol xP
I agree that the box could use some paint. It just doesn't look right up there like that on a red bike. They didn't make it an easy task with all those curves and goofy reflectors. I wouldn't mind seeing that red strip across the rear top side turned into an accessory LED brake light as well. Would make it much more visible! Is that just a piece of red plastic or is there a clear piece with red behind it? It wouldn't be that hard to modify it if so. Maybe the OP or someone else with the box could take some pics of the inside of the box if it's easy to get at or if there is a liner that needs to be removed or something.
They do sell the rack in black as well...

Has anybody tried it without the supporting arms? And does this take a Givi box, or do I need to fork out on the Yamaha box? :confused:

PS, nice write up - very helpful!:thumbup:
I know the givi boxes have a nice panel that LEDs can be put behind, would be very beneficial to know if a Givi case can be attached to this rack.
 

Chucker

Active Member
I'm pretty sure the Yamaha box is a GIVI box.
 

alaskanflyboy

Premium Member

BoneJj

Well-Known Member
GIVI makes a brake-light kit for some of their top cases.
they do, but their kit blows.... it's hardly visible during the day. I saw one at a bike rally recently.

I normally end up making my own with more than 2 time the light output or more in some cases. all you really need is a little PC board and some nice superflux LEDs and some resistors and you are good to go. Also a voltage regulator in the system will help greatly as well but on this bike IDK if it's all that necessary as aren't the stock tail lights LED? if they are there should already be a voltage regulator in the system somewhere... it may be inside the the tail light system or before it.
 

alaskanflyboy

Premium Member


Top