EndlessTL2
New Member
Hey forum,
Its been awhile and i thought i share this idea with ya'll and hopefully it would benefit you as it did me.
I was getting tired of those expose rear turn signals, going from stock to aftermarket arrow lights. So I wanted more, more is always good right? lol
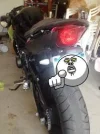
Anyways, I was debating on buying integrated brake lights with them hidden turn signals inside. Well turns out they are so expensive not even sure if their worth it. Heres is what i had to begin with.
 [/URL][/IMG]
First remove rear seat
pretty sure we all know how to do that by now.
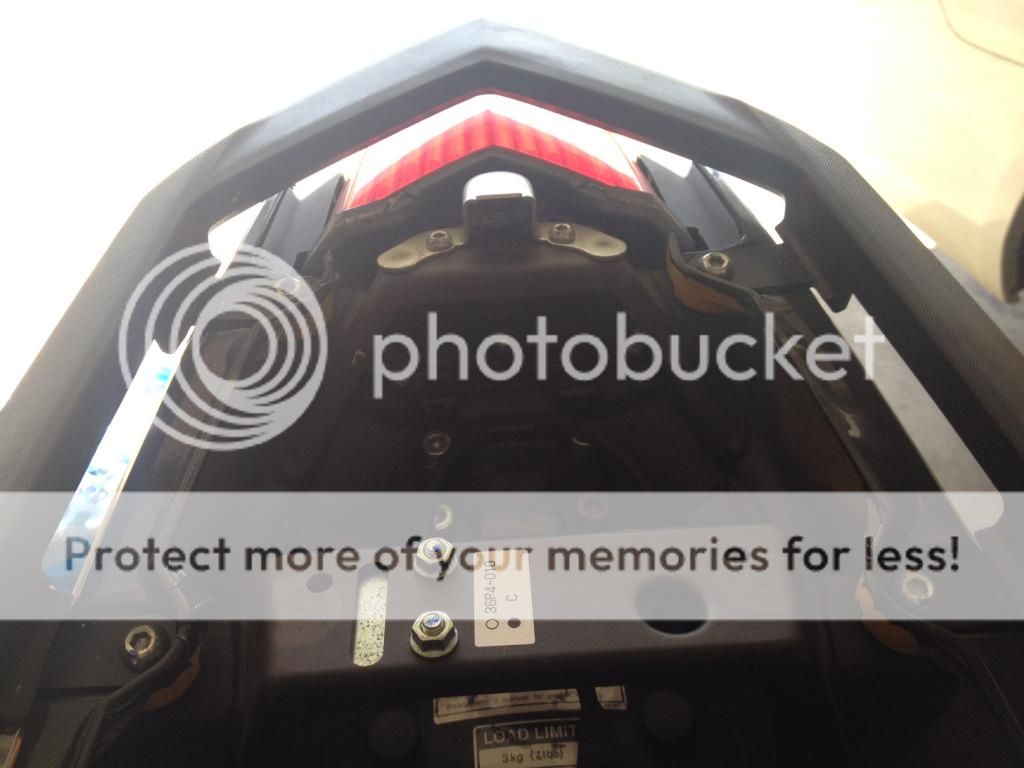
from here remove all the allan bolts thats on the rear bar total of 4.
Then behind the brake light itself should be 3 philip screws to take out.
once all that is out remove either side rear fairing either one is fine, just need one to wiggle out the housing.
beneath those fairing should be 2 push tabs. there may be a allan bolt involved so be aware, past mods i forgotten to put it back.
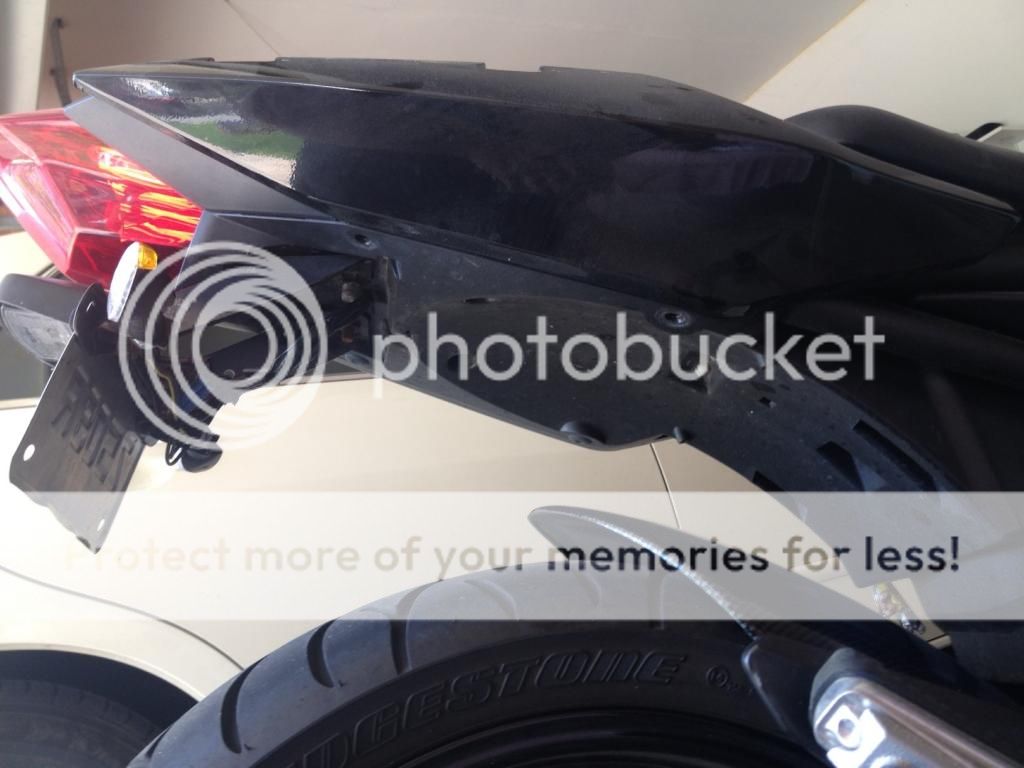
once removed you should be able to wiggle out the housing and twist to remove the bulb.
 [/URL][/IMG]
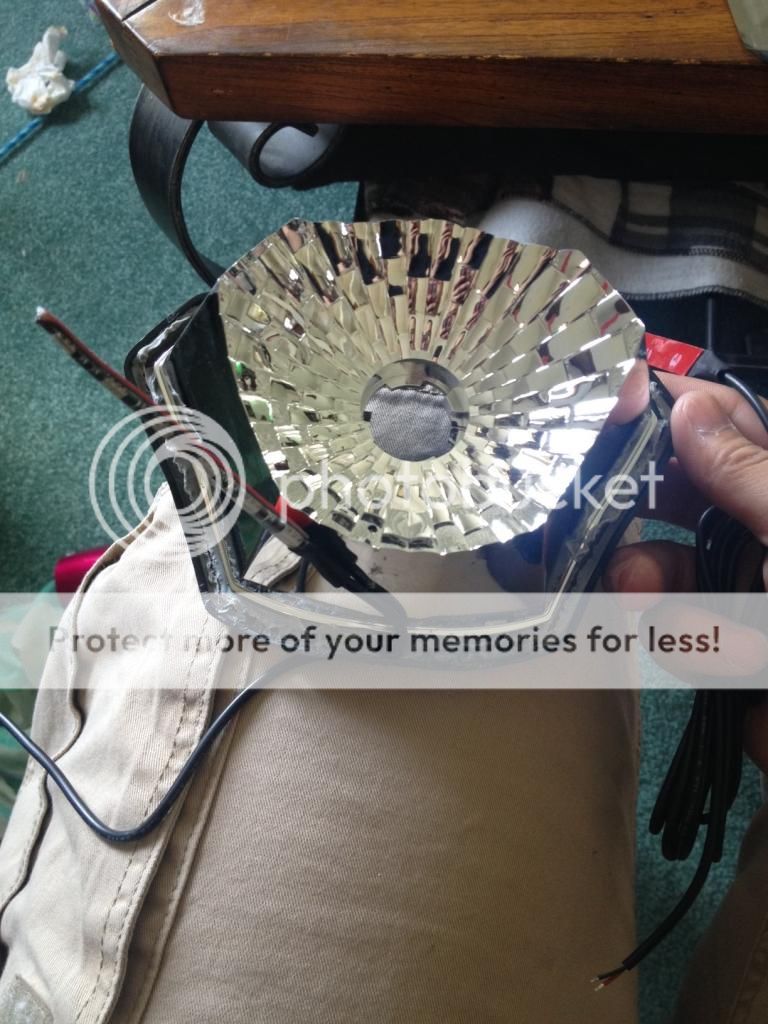
from here your gonna need a hair dryer or a heat gun and some kind of wedge to take apart the housing. it is stuck together w some silicon seal so be careful and patient, dont wanna risk breaking the housing. use the heat gun or hair dryer and blow around the seam so the seal will loosen and start prying apart but be easy and gentle.
 [/URL][/IMG]
 [/URL][/IMG]
once you manage to get it open
start to assemble the led strips into the house on the mirrored housing. these you can find on ebay and amazon for pretty cheap and shipping usaully free.

these led strips have some strong tape on the back of them so they're not going anywhere once applied
place them along each side of the mirrored house as shown or however works for you. the wires can be slide through a hole that's already there from Yamaha. so no need for drilling.
once finish it should look like this
 [/URL][/IMG]
once your finish with that, place the housing back together and add pressure back onto the silicon. once you do that, you can use your heat gun or hair dryer to add heat to the seam once again to melt the silicon seal and reseal it.
this will be a finish product
 [/URL][/IMG]
go ahead and put everything back together and wire up. heres a video to show how it looks when all reassembled.
http://youtu.be/9DjSxCnyh84
i also plan to relocated my license plate too. im thinking under the seat against the wall. so its a cleaner look.
Thanks for reading!
Its been awhile and i thought i share this idea with ya'll and hopefully it would benefit you as it did me.
I was getting tired of those expose rear turn signals, going from stock to aftermarket arrow lights. So I wanted more, more is always good right? lol
Anyways, I was debating on buying integrated brake lights with them hidden turn signals inside. Well turns out they are so expensive not even sure if their worth it. Heres is what i had to begin with.
First remove rear seat
pretty sure we all know how to do that by now.

from here remove all the allan bolts thats on the rear bar total of 4.
Then behind the brake light itself should be 3 philip screws to take out.
once all that is out remove either side rear fairing either one is fine, just need one to wiggle out the housing.
beneath those fairing should be 2 push tabs. there may be a allan bolt involved so be aware, past mods i forgotten to put it back.

once removed you should be able to wiggle out the housing and twist to remove the bulb.
from here your gonna need a hair dryer or a heat gun and some kind of wedge to take apart the housing. it is stuck together w some silicon seal so be careful and patient, dont wanna risk breaking the housing. use the heat gun or hair dryer and blow around the seam so the seal will loosen and start prying apart but be easy and gentle.
once you manage to get it open
start to assemble the led strips into the house on the mirrored housing. these you can find on ebay and amazon for pretty cheap and shipping usaully free.

these led strips have some strong tape on the back of them so they're not going anywhere once applied
place them along each side of the mirrored house as shown or however works for you. the wires can be slide through a hole that's already there from Yamaha. so no need for drilling.

once finish it should look like this
once your finish with that, place the housing back together and add pressure back onto the silicon. once you do that, you can use your heat gun or hair dryer to add heat to the seam once again to melt the silicon seal and reseal it.
this will be a finish product
go ahead and put everything back together and wire up. heres a video to show how it looks when all reassembled.
http://youtu.be/9DjSxCnyh84
i also plan to relocated my license plate too. im thinking under the seat against the wall. so its a cleaner look.
Thanks for reading!