Turning the "Power Crystal" into a running light


xplodnstar

New Member
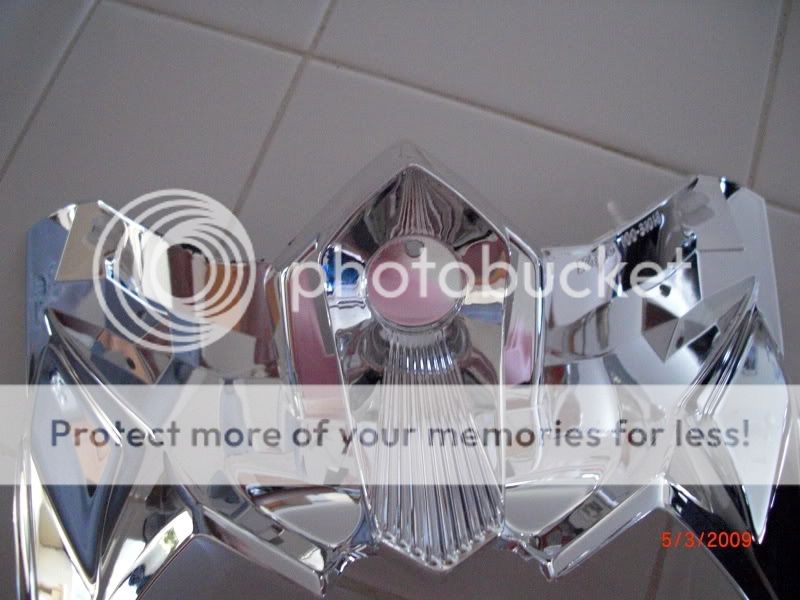
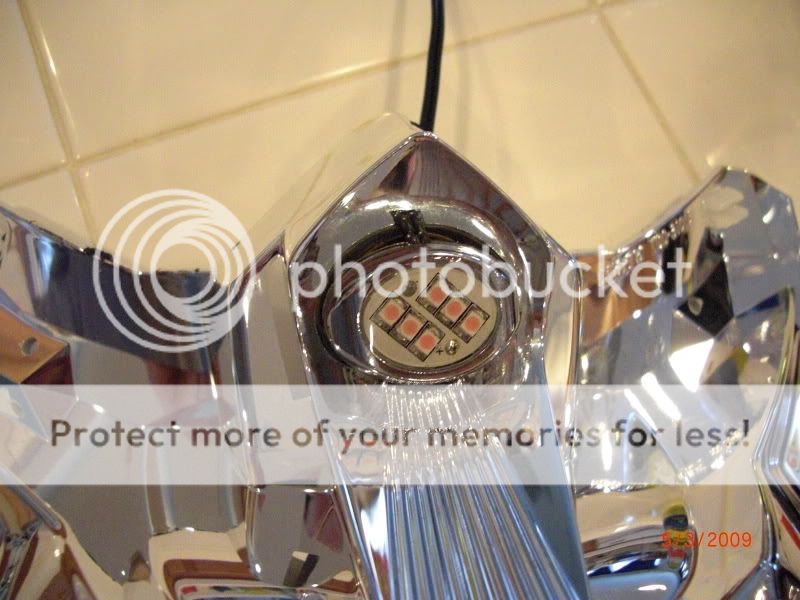
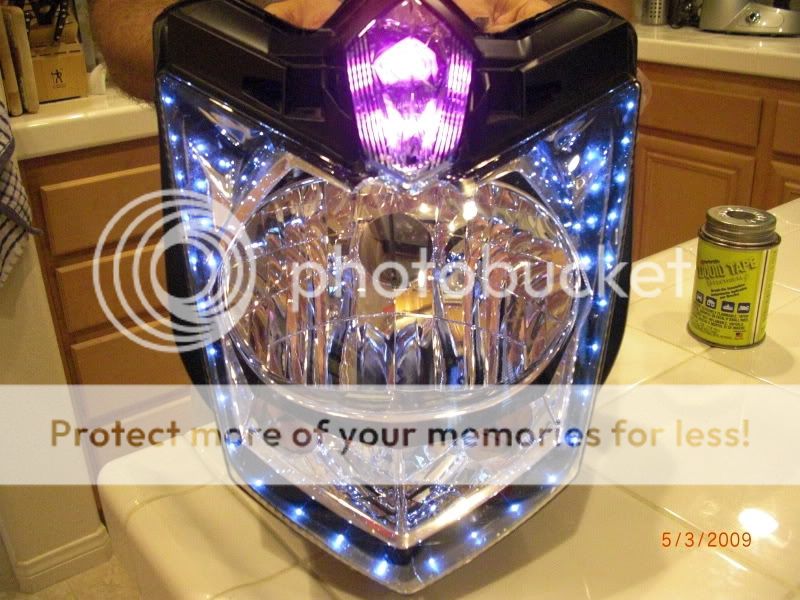
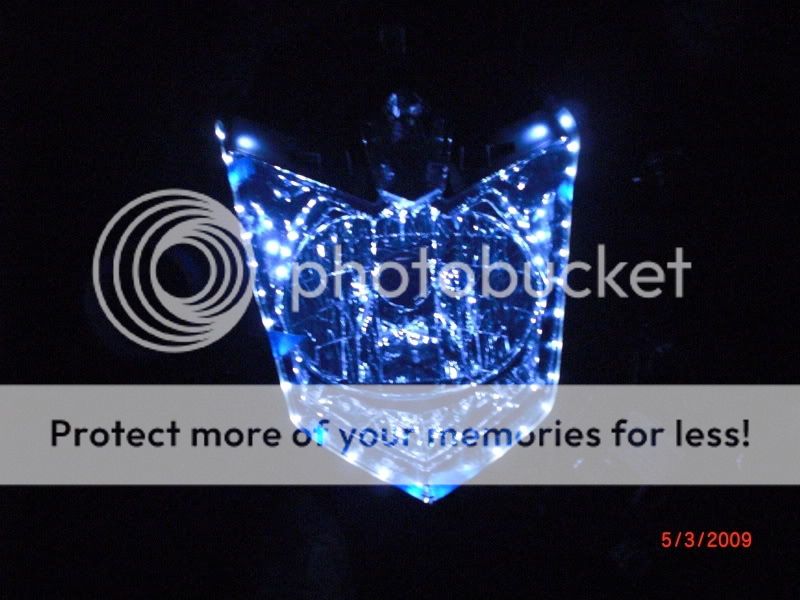
Since my husband first told me that I look like a cop coming up behind him on the freeway I’ve been planning on adding a little color to my front end. The empty “crystal” over the headlight is perfect for just that. So I set out to find a good LED that would be bright enough to be seen through the headlight beam. Harder still, I wanted pink to match the bike’s vinyls and, of course, be set apart from anyone else.

Also, after reading the LED Headlights thread (http://www.fz6-forum.com/forum/fz6r-general-discussion/15504-led-headlights.html), I figured I’d try a mock up and see if I liked it. I did.

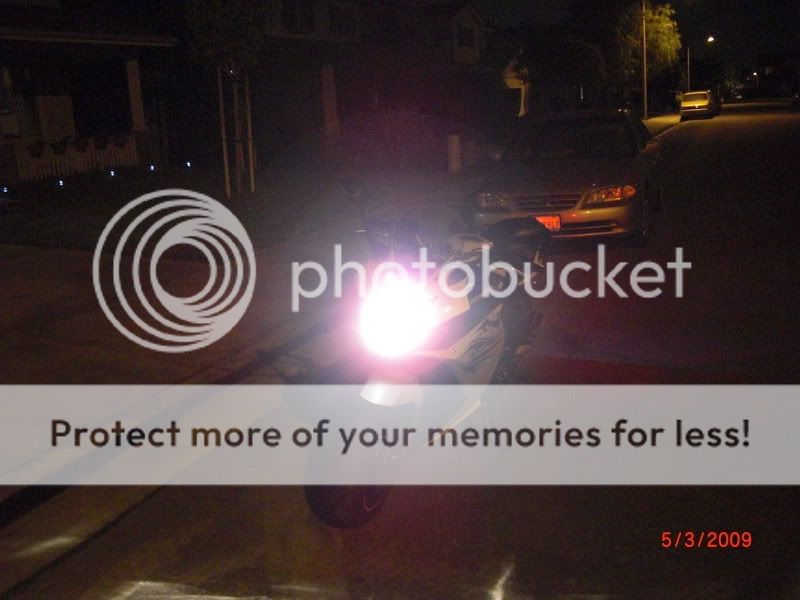
Its not the best representation, but just wait for the end result.


Word of warning: Keep track of your screws. Take pictures, label them, whatever works for you. Just know where they go back, don’t expect to remember, this mod takes a while and you could forget. Don’t end up with extra screws (cough) like I did. :rolleyes:

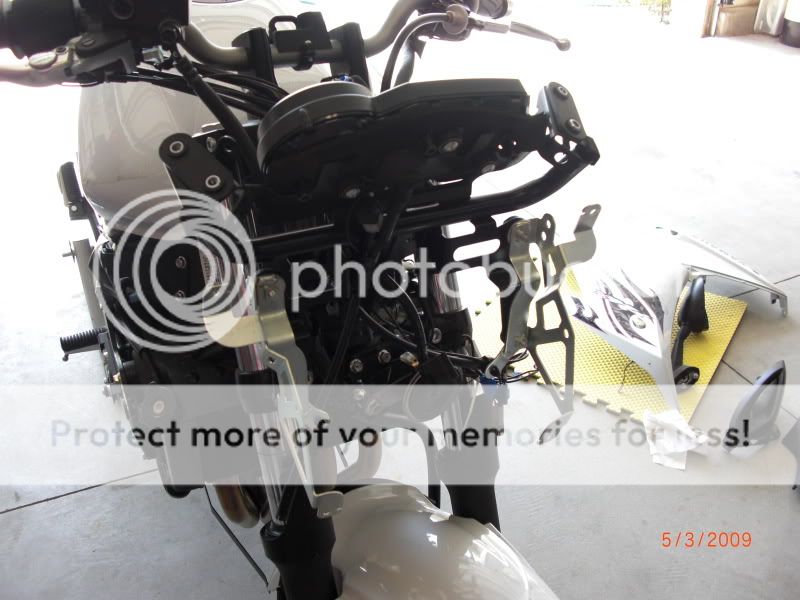
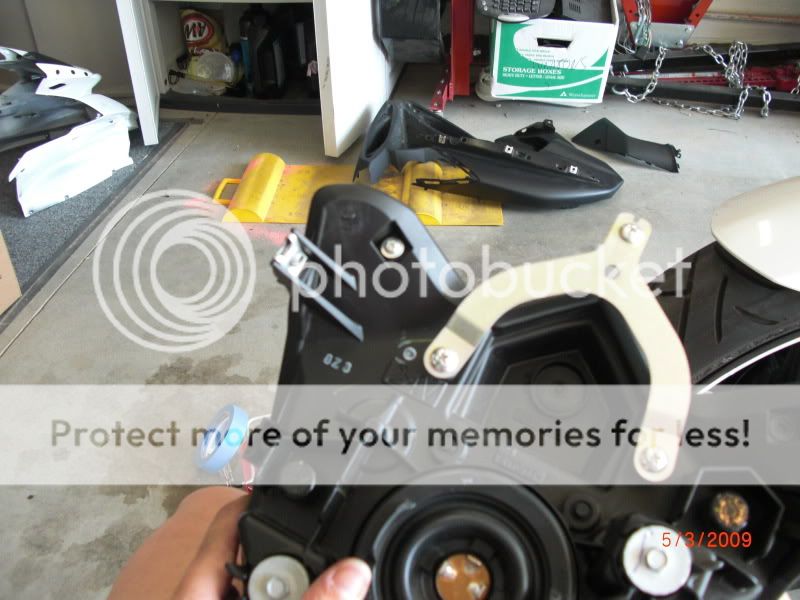
The fun part was having to take all the plastics off. There are soooo many layers on this bike it’s ridiculous, but I still love it.


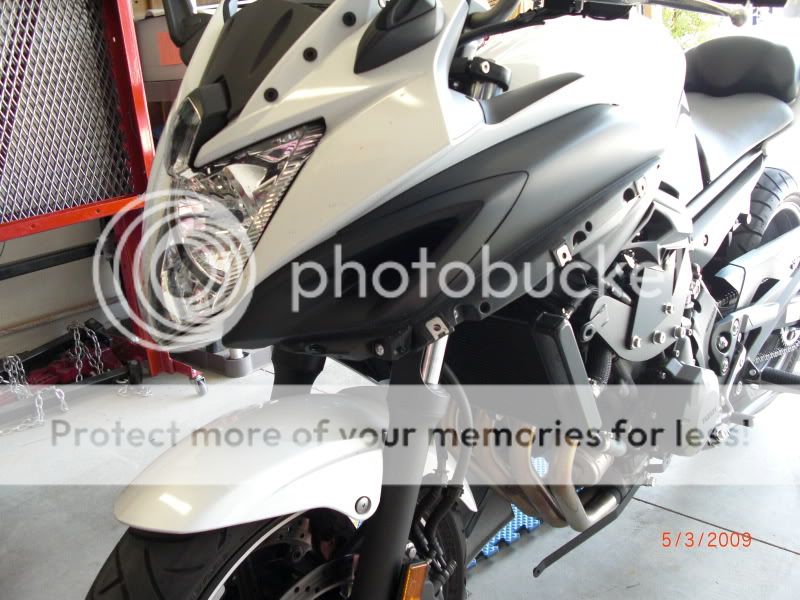
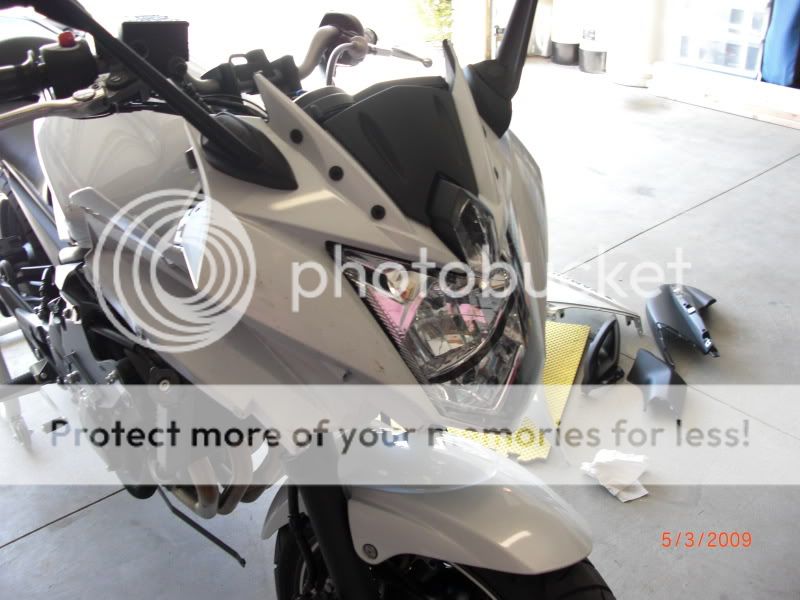
Beware when taking the headlight enclosure off. There is a very annoying screw at the top that is difficult to get to.


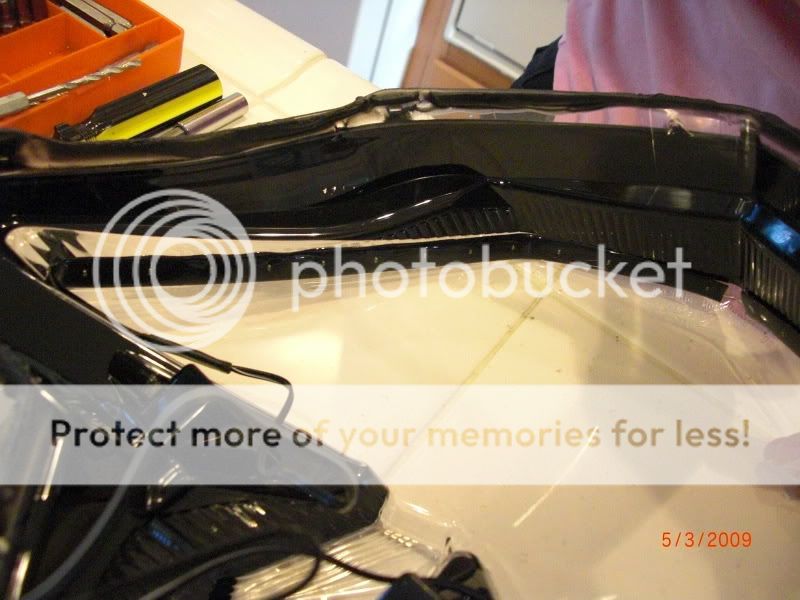
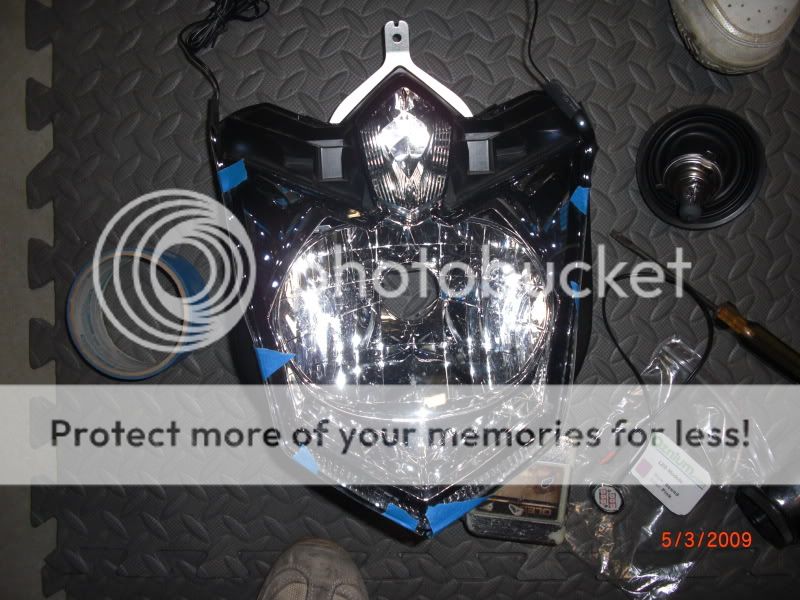
Once the headlight is off, it’s time to open it up. Remove the “wishbone” and the lamp.


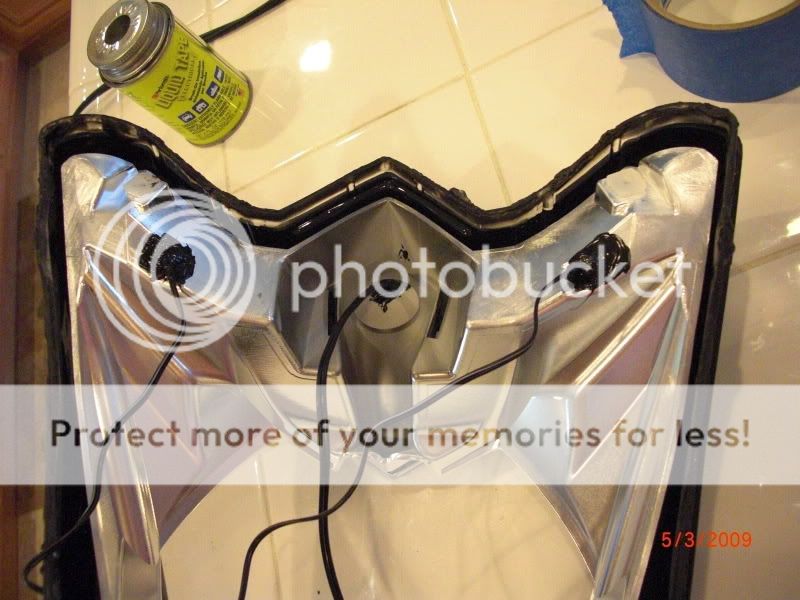
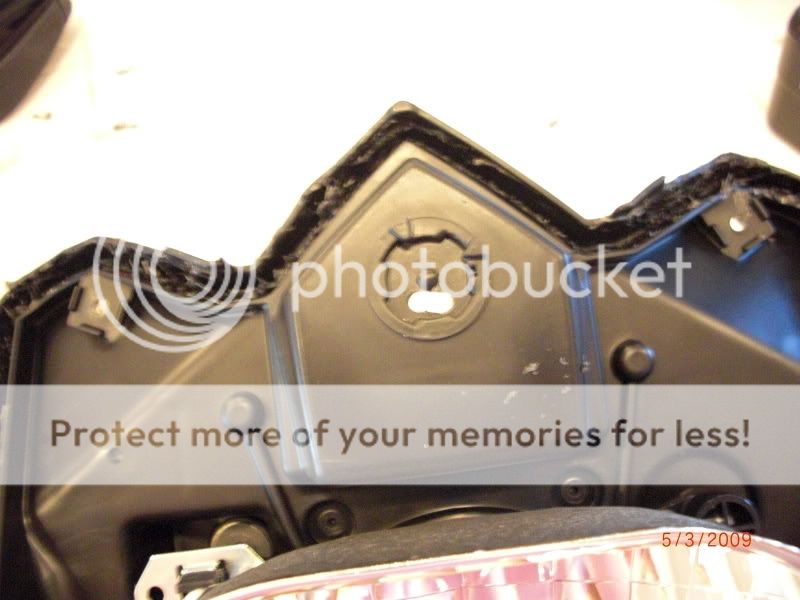
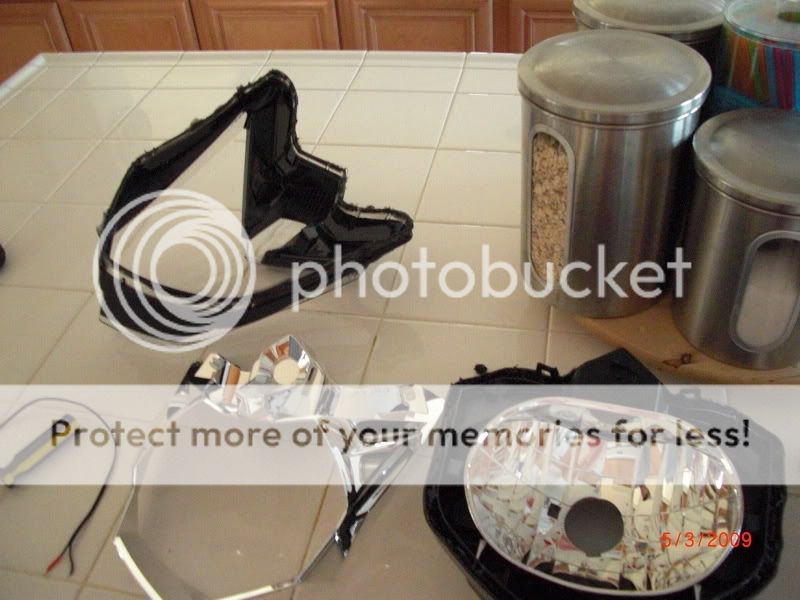
Now for more fun – There is a sticky, waterproof glue that holds the housing together, that will require some heat to loosen. A heat gun will work in sections, but the fastest way to soften it up is the oven. Hubby found a similar mod on another forum that suggested this, so we tried it. Move or remove racks to allow enough room for the headlight. Place a 3-4 layer sheet of aluminum foil on the rack. Heat the oven to 250. When it’s at temperature, place the headlight on the foil and “bake” for 5 – 10 minutes. Keep an eye on it so you don’t warp anything. Don’t use a cookie sheet or anything like that, they get and stay too hot. Test the glue with a screwdriver on the tabs to see if it separates. When it’s ready, take the headlight out and pry the seams apart all the way around. Remove the 3 screws that hold the reflective surface to the housing.
 

xplodnstar

New Member
Re: Turning the "Power Crystal" into a running light - Pt. 2

On the “Transformer” mask, drill a small hole, big enough to pass the wires through in the circle at the top. I put mine about where the reflected circle is in the picture.


Depending on the size of your light, you may need a spacer to raise it a little. The circle is 7/8” diameter, but my light was an inch and oblong. I cut a ¼” thick piece of a ¾” dowel and glued it between the circle and the LED. Crazy glue seems to do the trick, be careful with it, but get enough on the soak into the wood AND still stick to the plastics.


Since I was in there anyway, I decided to add the LED strips that I mocked up before. It’s a good idea to make all your decisions and preparations for any changes you want to make in there all at once. The less times you have to unstick that glue, the better. Trust me.

I used the foam tape that came on the strips to adhere them to the walls with a few drops of crazy glue for extra stay power. If you have a better model glue or similar product, I would suggest it as the crazy glue leaves that white haze as it dries.


A couple more holes drilled for the wires of the LED strips. Find a good location that fits where the wires need to be routed to and will be covered by the front of the housing. I used some of the extra waterproof glue that was still stuck to my screwdriver/fingers/etc. to seal the holes for the wires.


More drilling – a hole in the back of the housing that will fit all the wires (3 sets for me). Notate which wires for which lights when you thread them though.


Always a good idea to test the lights before putting it all back together. I used a tester battery that came in a package of LEDs. You know the one’s that have the button you can push at the store to see if you like the lights before you buy them.


To reseal the housing you can either put it back in the oven, if you think your new lights can handle the heat, or use the heat gun to melt and re-stick the glue in sections. I used the heat gun because I wasn’t sure about the lights.

Now put it all back together. Reattach the headlight, fairings, dash, etc. Remember how you made notes on where the screws all go? I hope your re-assembly goes smother than mine did. :)

I spliced the lights into the running light wire on the front turn signals. (diagram from this thread is useful http://www.fz6-forum.com/forum/fz6r-mods/15102-flushmount-front-signals.html) Since the flushmount install, it wasn’t being used anyway. For the pink “crystal” I left it as a running light so it’s always on when the bike is on. For the LED strips, I added a switch in the line so I can use them when I want only. Someone said something about using the dummy button on the left handlebar housing.

Unfortunately, my after picture isn’t the best since it was dark by the time I finished, but here it is. I will get another picture up with the look of it with the light on and visible later.
 
L

lazamus69

Looks good...:thumbup:.. No cops have roasted you yet with the blue lights on the front?...Here in BC that wouldnt fly with local lawmen. Instant inspection order..:spank:
I cant believe there is no bulb in what you refer to as the 'Power Crystal' Its begging for a 6000k HID setup. Front end visibilty would increase 10fold and we know how important that is
 

99vengeur

Administrator
Staff member
That looks like it is going to be pretty darn awesome when all lit up and visible!! :thumbup:

Did you consider the angle of the LED you put in the power crystal? The reason I ask is because some LED flashlights can be pretty blinding and I wasn't sure where the ones you installed will point.
 

jdesiano1

New Member
Ohmigod I am so jealous, but that looks like a hellaious mod. I got a headache for you. lOL
 

RZ350 Rider

New Member
Is it just me or did the Pics fall off? This is one of the things I really want to do, using the fake button in the left grip.

RZ350 Rider
 
R

ross_mct

Congrat's on the mod, looks great! Well done and great write up :thumbup:
 

xplodnstar

New Member
Looks good...:thumbup:.. No cops have roasted you yet with the blue lights on the front?...Here in BC that wouldnt fly with local lawmen. Instant inspection order..:spank:
I cant believe there is no bulb in what you refer to as the 'Power Crystal' Its begging for a 6000k HID setup. Front end visibilty would increase 10fold and we know how important that is
Technically they are white, not blue, so I'm good. They just look blue in the pic.

From the looks of it, this housing is used on other bikes. On the side where the wishbone is attached, there's a spec written for a bulb. It's probably a housing from an older model they decided to reuse. I bet the other model used it as a daytime running light.

If I could have mounted my 10 million candle power spot light in there, I would have. ;)
 

xplodnstar

New Member
That looks like it is going to be pretty darn awesome when all lit up and visible!! :thumbup:

Did you consider the angle of the LED you put in the power crystal? The reason I ask is because some LED flashlights can be pretty blinding and I wasn't sure where the ones you installed will point.
It's not really powerful enough to make a difference. Also, with the facets in the reflector it doesn't really have a chance to shine straight on.
 
S

staticghost

Wow ... all of this for a light. You must be patient. Good Job tho. Now TRANSFORMERS know where to collect their power crystal...LOL...:rockon:
 

99vengeur

Administrator
Staff member
It's not really powerful enough to make a difference. Also, with the facets in the reflector it doesn't really have a chance to shine straight on.
Alrighty.

BTW, where did you buy the LED strip and power crystal lights? Did you get them online or at an auto parts store?
 

xplodnstar

New Member
BTW, where did you buy the LED strip and power crystal lights? Did you get them online or at an auto parts store?
The pink one I got online at Oznium.com under "tiny LED modules".

The white ones were something my hubby had bought a while ago for another bike. They didn't work out for what he wanted, but we held on to them anyway. I think he got them off eBay. Oznium has similar products too.
 
F

FZ1inNH

WOW! Very cool! Innovative! I like it!!! :thumbup:

In NH, they might give you a hard time about the blue, but typically, so long as it isn't modulating, they will not say anything.

Well done! :rockon:
 

fz6rwolf

New Member
Looks great, don't know if I have the patience anymore to take all that stuff off and do this though LOL.
 
J

jody.adams

Chicks that rip apart their motorcycles on their kitchen table are hot! Great job. I bet your husbands thinking of all the cool things you can do to his bike now....
 

phantomxc

New Member
Thanks for the great write up and pictures...Im jealous. My LEDs have shipped! but mine is going to be a little bit different.
 

wrightme43

Admin of Socks & Puppets
Rock on with the coolness. Awesome work.
 

tractorboy

New Member
Chicks that rip apart their motorcycles on their kitchen table are hot! Great job. I bet your husbands thinking of all the cool things you can do to his bike now....
MAN YOU KNOW IT!!! Thats hot...not sure whats cooler.....a woman that messes with tool and her bike or the idea of TRULY making it a POWER crystal!!

Man...Wish I had that sorta motivation these days!! NICE..and its a good for the Fake button as well..but for her..thats her garage door opener!!

Now I bet you wish you had MORE fake Buttons!!!

Nice..and good right up..love to see all the detail.....many dont know all that goes into a one off think like that!!

Tractor:rockon::thumbup:
 

RZ350 Rider

New Member
All I see instead of the Pics are boxes with red X's in them. Right clicking and show pics doesn't do anything either. It figures, sinc I really wanted to do this to my Bike.

RZ350 Rider


Top