
Well after asking around I've decided to do a how-to on painting calipers. This will be my first write up of this sort so please be patient if anything is not clearly explained and please ask for an explanation.
Okay. So I'm only doing a write up and pictures of the rear caliper since that was the first one I did (and I didn't feel like making a post with 30 pictures). In this write up you will need prior knowledge of how to remove your calipers and bleeding your brakes when you reinstall them.
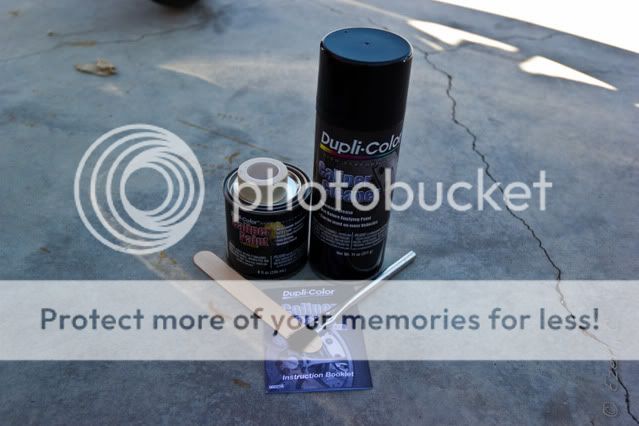
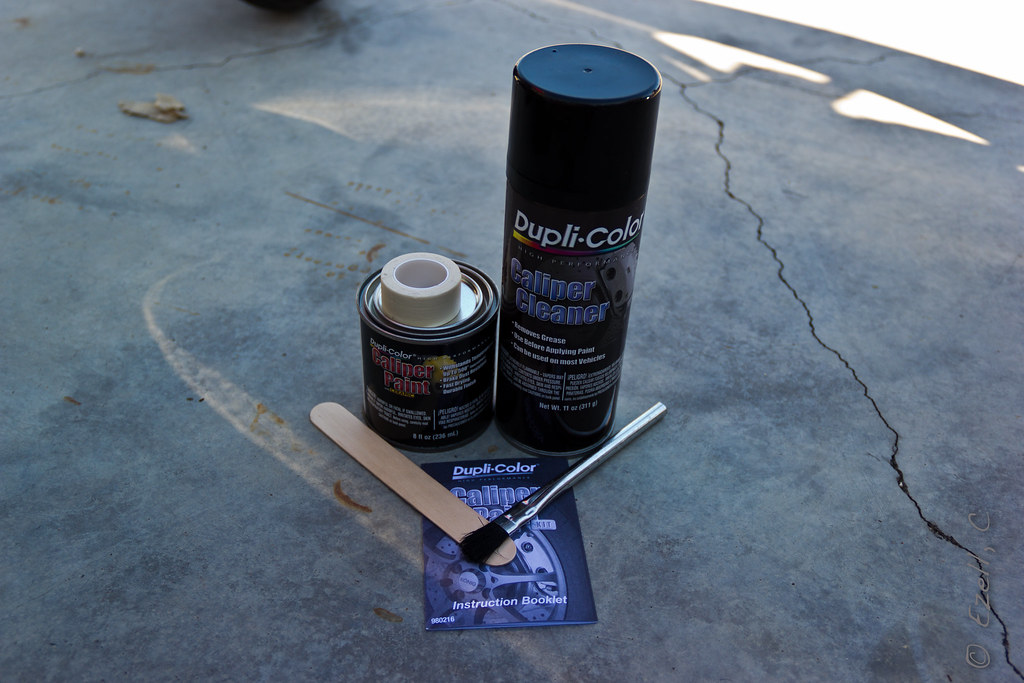
Here is the caliper painting kit that I bought from AutoZone. It is made for painting car calipers and has enough to paint four calipers. It costs about $20 but for some reason it was $5 off when I bought it. This project cost a total of about $25.
(Click through each picture for larger image)
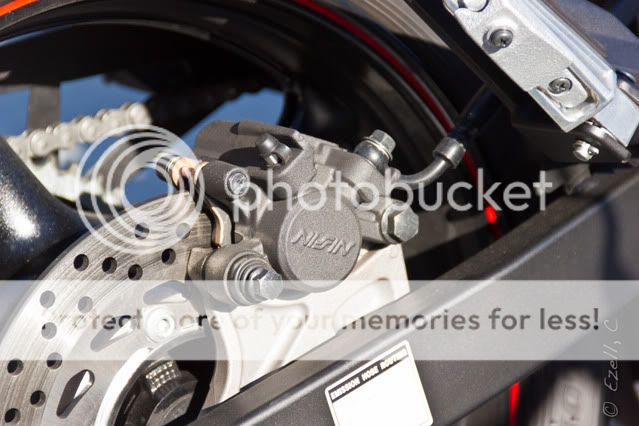
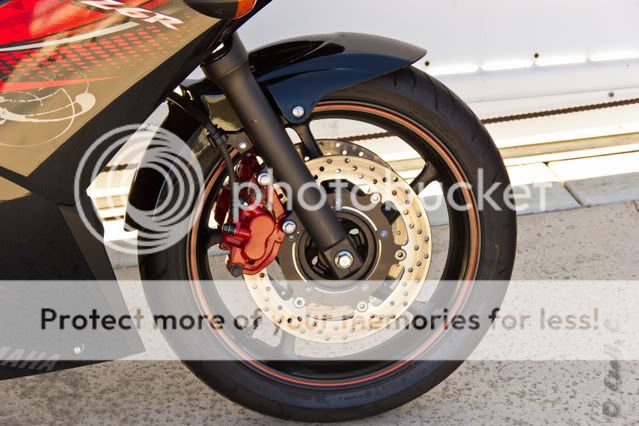
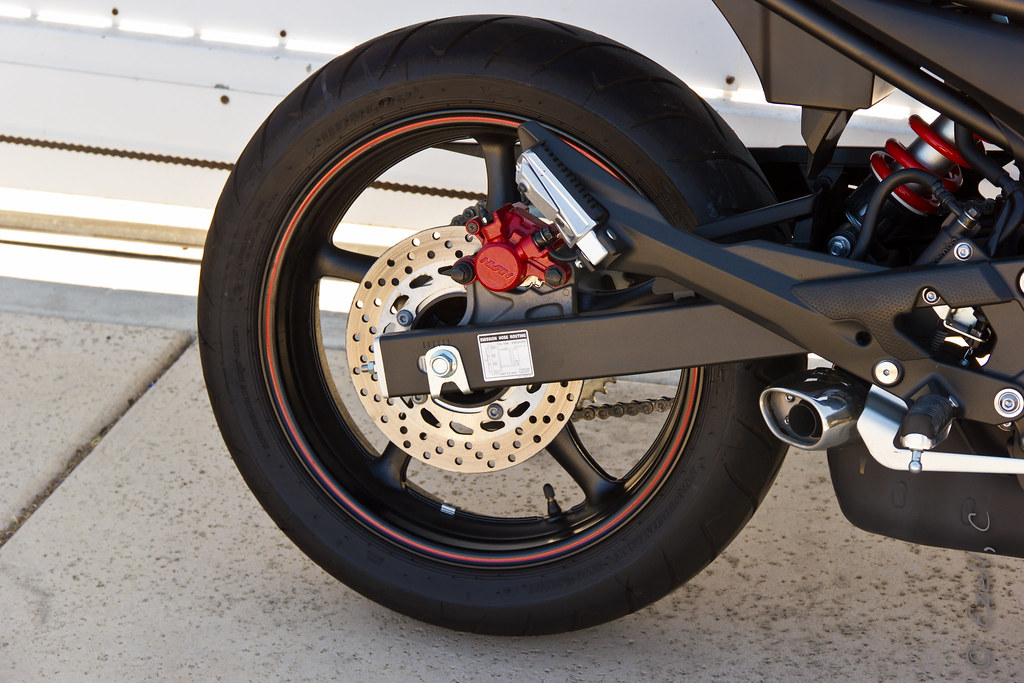
Here is a before shot of the rear caliper (unfortunately I forgot to take a before picture of both front and back).
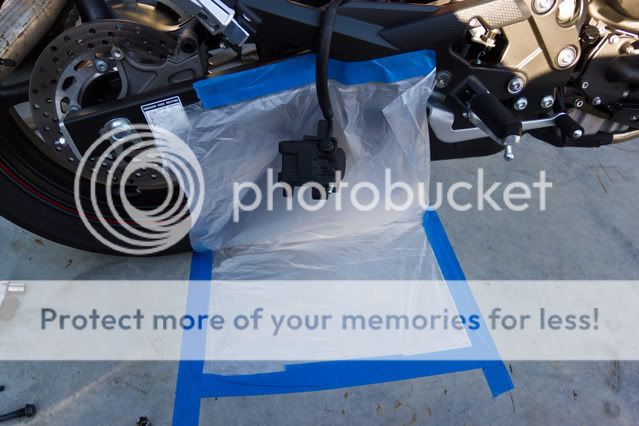
First you must remove the two bolts holding the caliper to the mounting plate. At first I was going to try to paint the calipers without removing them completely so I just let it hang like this:
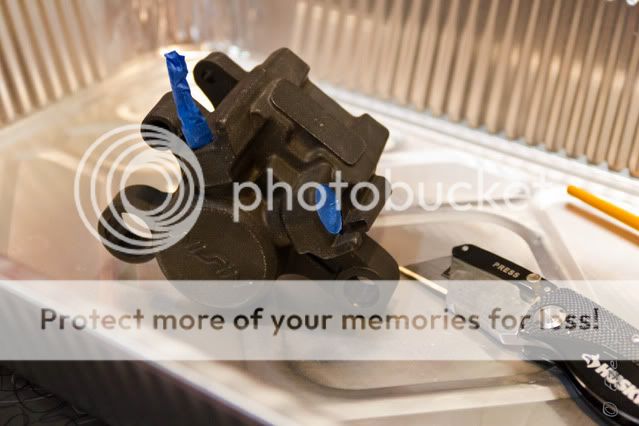
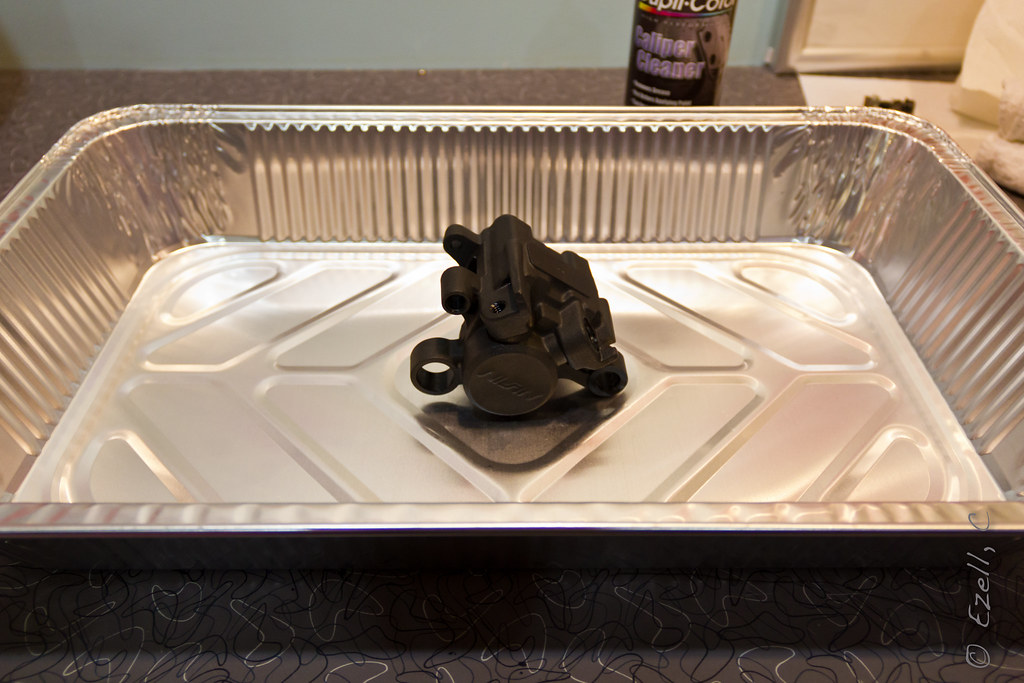
But then I decided that it would be a better decision to paint it inside and off the bike. So I removed it and placed it in an aluminum tray to keep the mess down to a minimum.

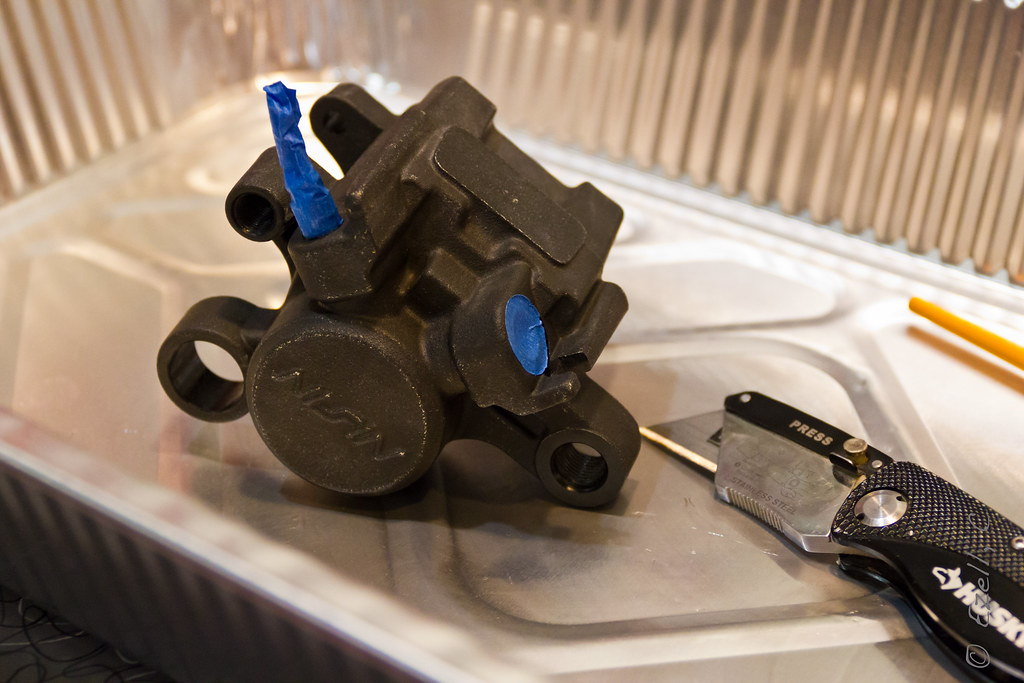
After removing the caliper, I then cleaned it thoroughly with the caliper cleaner that came with the kit. I then got a package of 320 grit sandpaper and lightly sanded the entire caliper (avoiding the pistons as I did not want to paint those). I also taped off the brake line bolt hole and left the bleeder nipple on and taped that. Here is what it looked like after the sanding and taping:
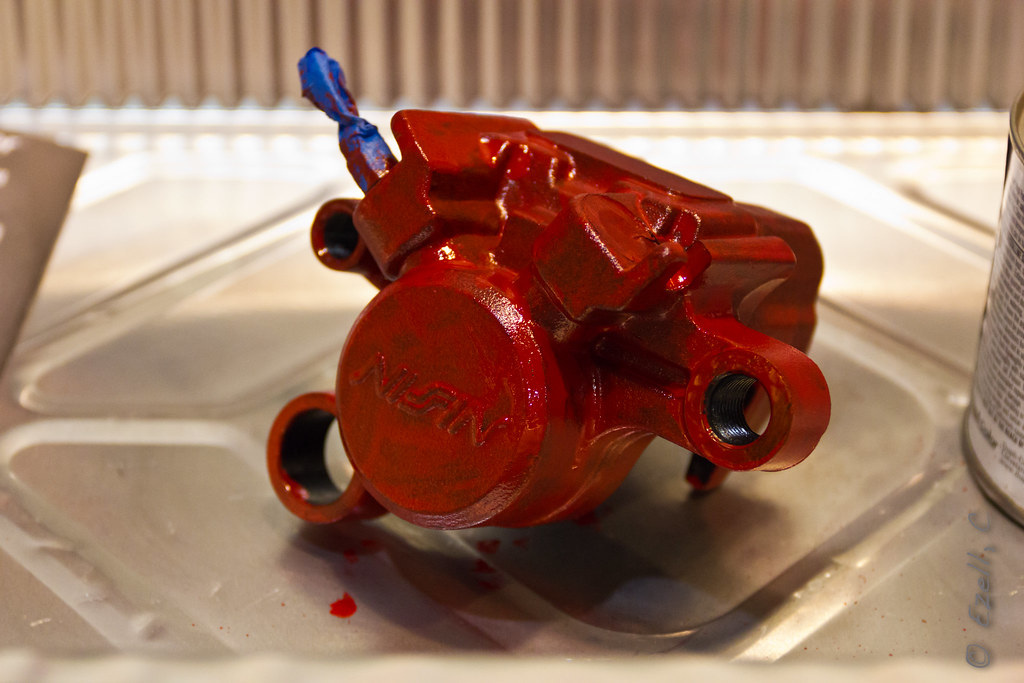
Then I applied a light first coat. You will not get 100% coverage on your first coat so do not try to do so.
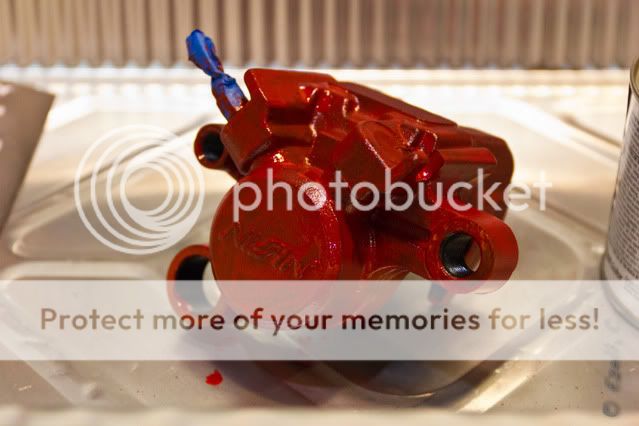
Then my second coat went on nice and cleanly.
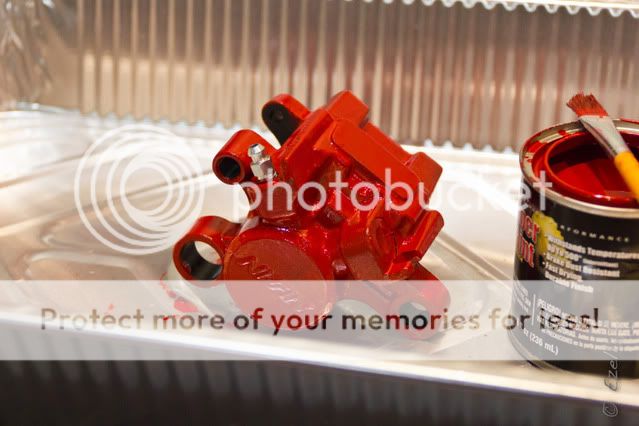
Then after my third coat.
You may need more than 3 coats to get 100% coverage and to get most of the brush strokes out (one reason I would've rather used a spray paint but I'm still happy with it). Just repeat this process for the front two calipers and you are good to go!
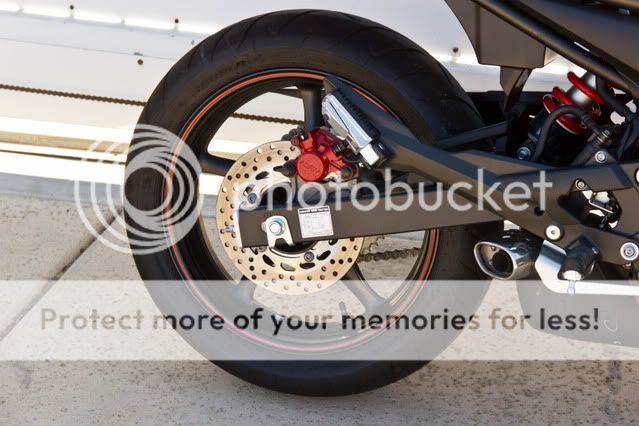
Now you are ready to reinstall the calipers! (please make sure to properly fill your brake fluid and bleed your brakes. Improper brakes = bad.) I was unable to find a good write up on bleeding your brakes here but I'm sure there are plenty of videos and articles around about it.
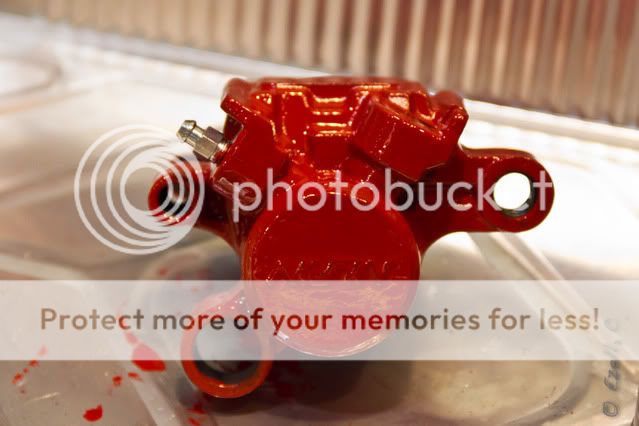
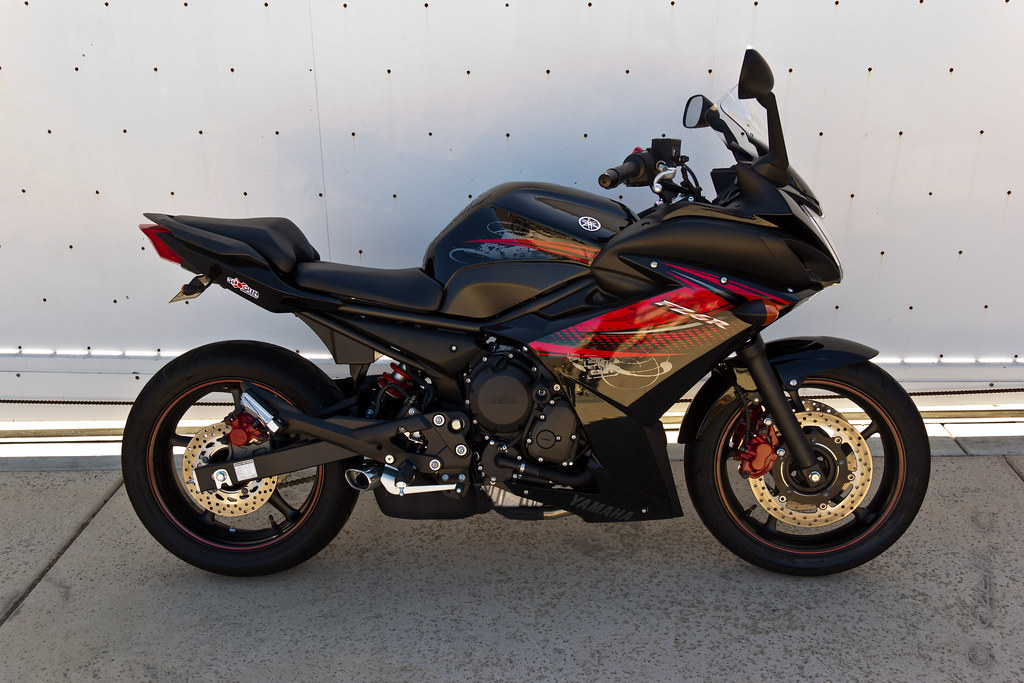
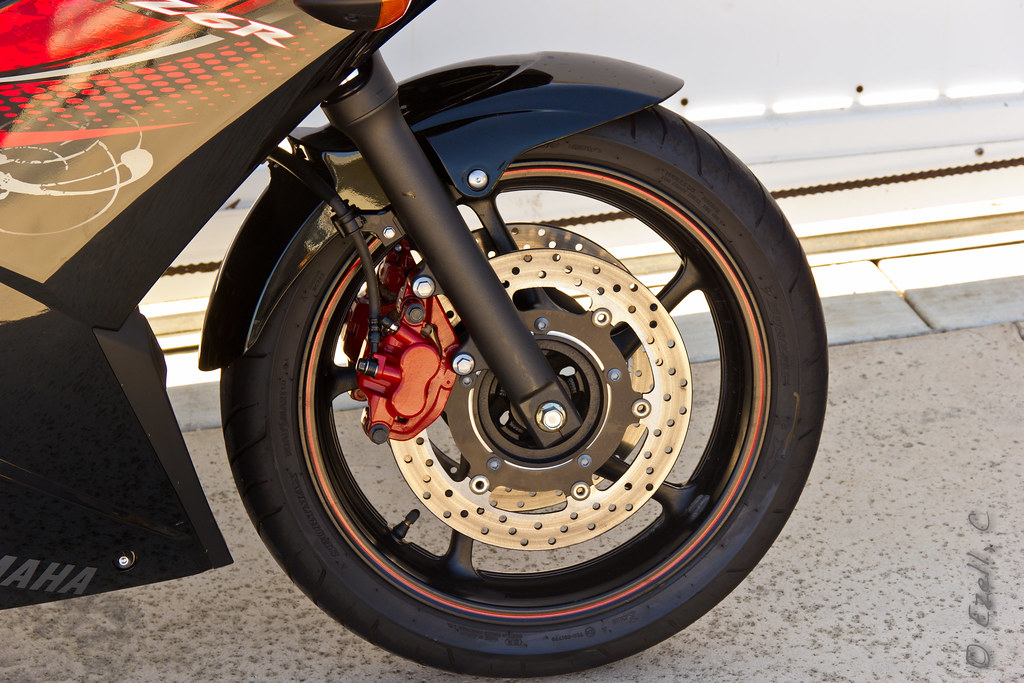
Now for the finished product:

Thanks for reading!
Okay. So I'm only doing a write up and pictures of the rear caliper since that was the first one I did (and I didn't feel like making a post with 30 pictures). In this write up you will need prior knowledge of how to remove your calipers and bleeding your brakes when you reinstall them.
Here is the caliper painting kit that I bought from AutoZone. It is made for painting car calipers and has enough to paint four calipers. It costs about $20 but for some reason it was $5 off when I bought it. This project cost a total of about $25.
(Click through each picture for larger image)
Here is a before shot of the rear caliper (unfortunately I forgot to take a before picture of both front and back).
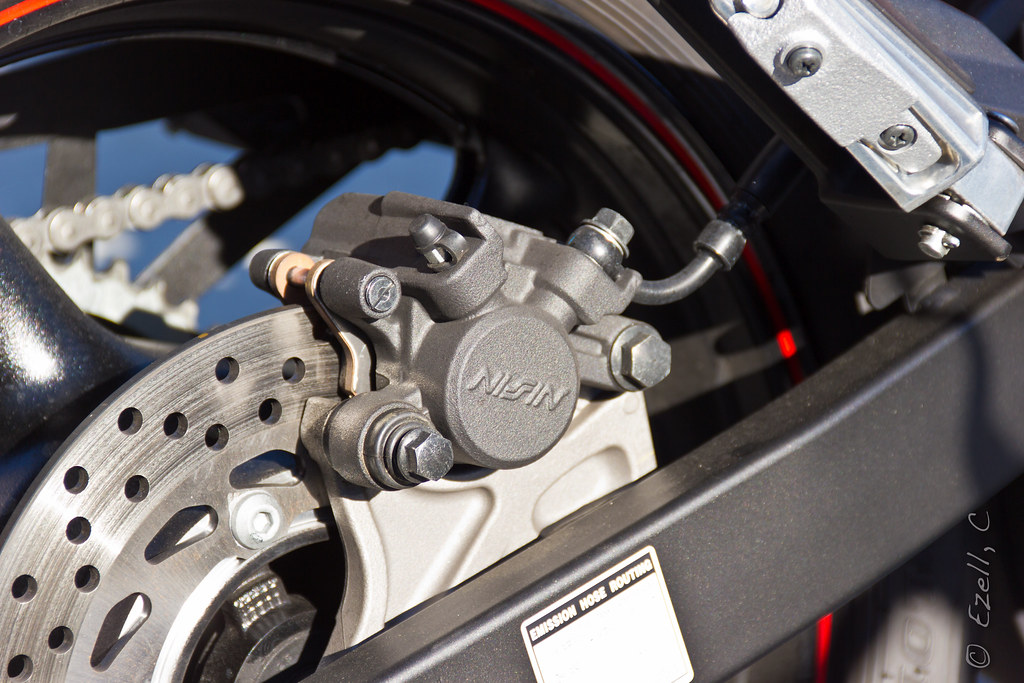
First you must remove the two bolts holding the caliper to the mounting plate. At first I was going to try to paint the calipers without removing them completely so I just let it hang like this:

But then I decided that it would be a better decision to paint it inside and off the bike. So I removed it and placed it in an aluminum tray to keep the mess down to a minimum.
After removing the caliper, I then cleaned it thoroughly with the caliper cleaner that came with the kit. I then got a package of 320 grit sandpaper and lightly sanded the entire caliper (avoiding the pistons as I did not want to paint those). I also taped off the brake line bolt hole and left the bleeder nipple on and taped that. Here is what it looked like after the sanding and taping:
Then I applied a light first coat. You will not get 100% coverage on your first coat so do not try to do so.
Then my second coat went on nice and cleanly.
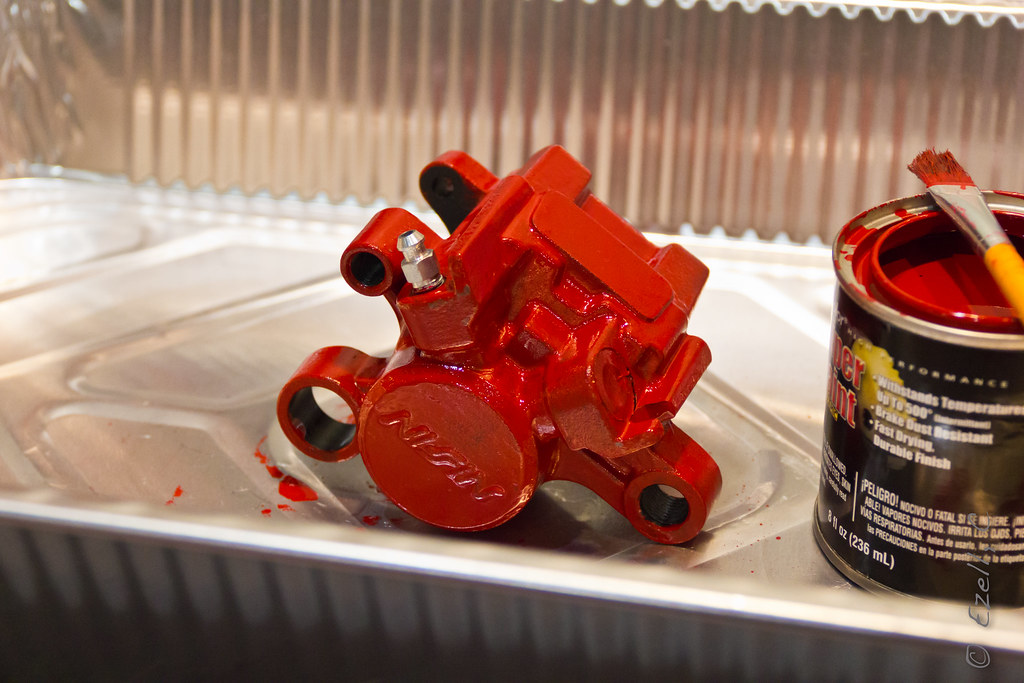
Then after my third coat.

You may need more than 3 coats to get 100% coverage and to get most of the brush strokes out (one reason I would've rather used a spray paint but I'm still happy with it). Just repeat this process for the front two calipers and you are good to go!
Now you are ready to reinstall the calipers! (please make sure to properly fill your brake fluid and bleed your brakes. Improper brakes = bad.) I was unable to find a good write up on bleeding your brakes here but I'm sure there are plenty of videos and articles around about it.
Now for the finished product:
Thanks for reading!